Respondus 4.0 Test Creation Software
New Users
Existing Users - Set up Respondus 4.0 to work with Canvas
- If you have been using Respondus, you do not have to re-install. Create a new “Canvas” Personality and add Canvas server settings (Instructions below).
- Classic quizzes can be published for now. More on Classic vs New Quizzes.
- No advanced options for placing quizzes. All quizzes are loaded in the Quizzes tool area. If you are using Canvas modules and want quizzes to appear in one, you must link them manually.
- No Retrieval or Reports tab. Until the transition to New Quizzes is complete and Repondus has had time to update, you must use a workaround for that functionality.
- Help Resources and Additional Respondus Documentation are listed at the bottom of this page.
1. Create a Canvas Personality
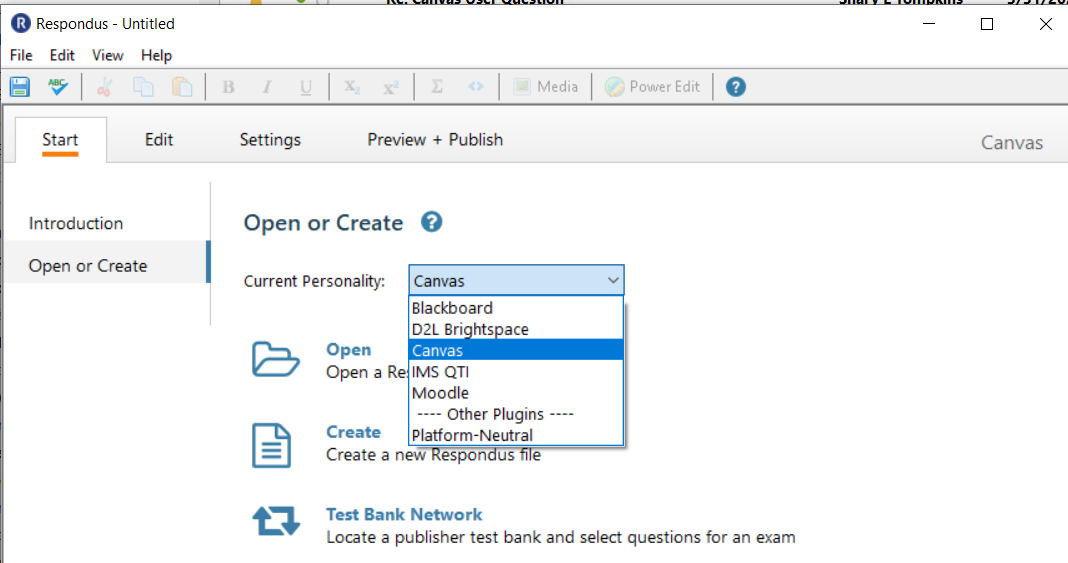
From the Start tab > Click Open or Create
From the Current Personality drop-down, choose Canvas.
2. Create a new Respondus project or Open an existing one.
- To create a new one, click Create and follow the prompts.
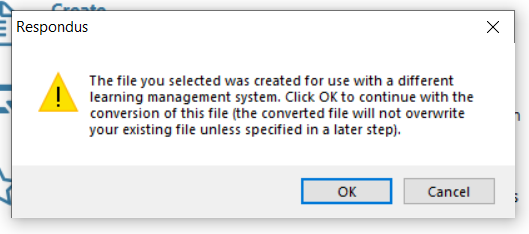
- To open an existing project (one that was last used in Learn), click Open, then follow the prompts to convert it. You can replace or save a copy as desired.
3. Enter Canvas server settings using the Publish Wizard
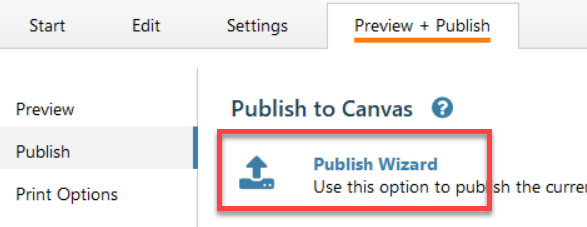
a) When you are ready to publish, select the Preview + Publish tab > Publish > Publish Wizard.
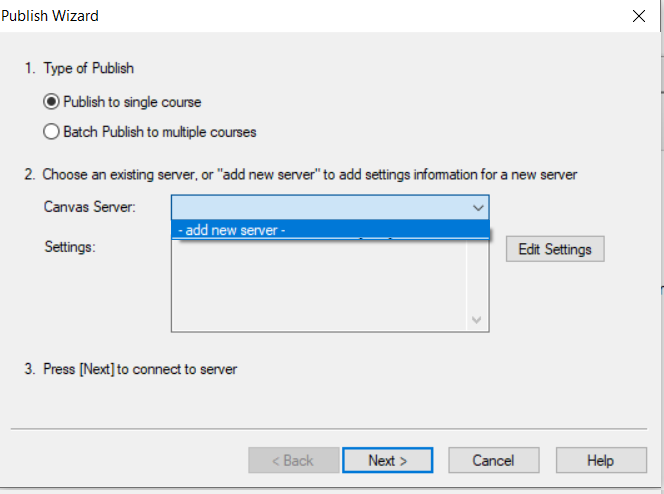
b) From the drop-down menu for “Canvas Server,” select “add new server”.
c) Click Next.
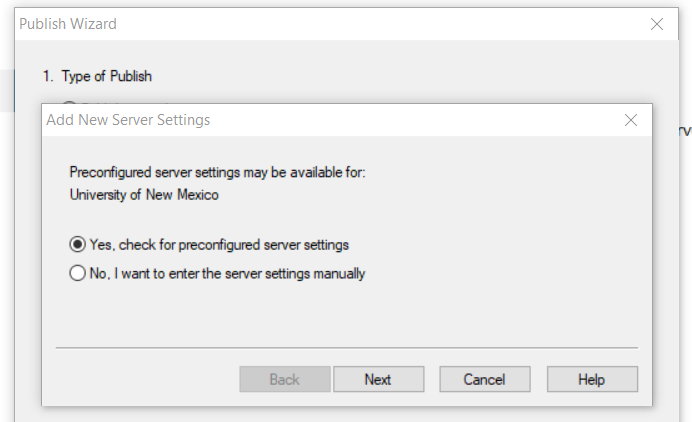
d) From the "Add New Server Settings" screen - Leave the default: “Yes, check for preconfigured server settings.”
e) Click Next.
f) For "Canvas server settings," enter a name (e.g., Canvas Courses). Enter your main campus NetID and password.
Note: We recommend selecting “Save my User Name”, If you do not select “Save...” you will have to repeat the entire MFA process every time you publish a quiz.
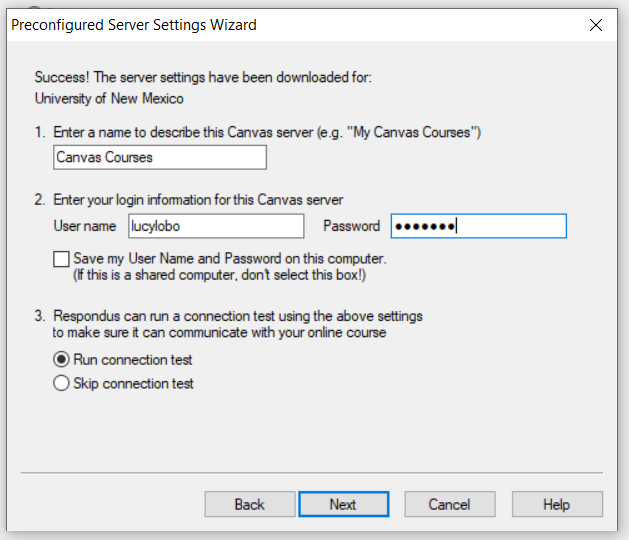
g) If necessary, choose “Run connection test”.
h) Click Next.
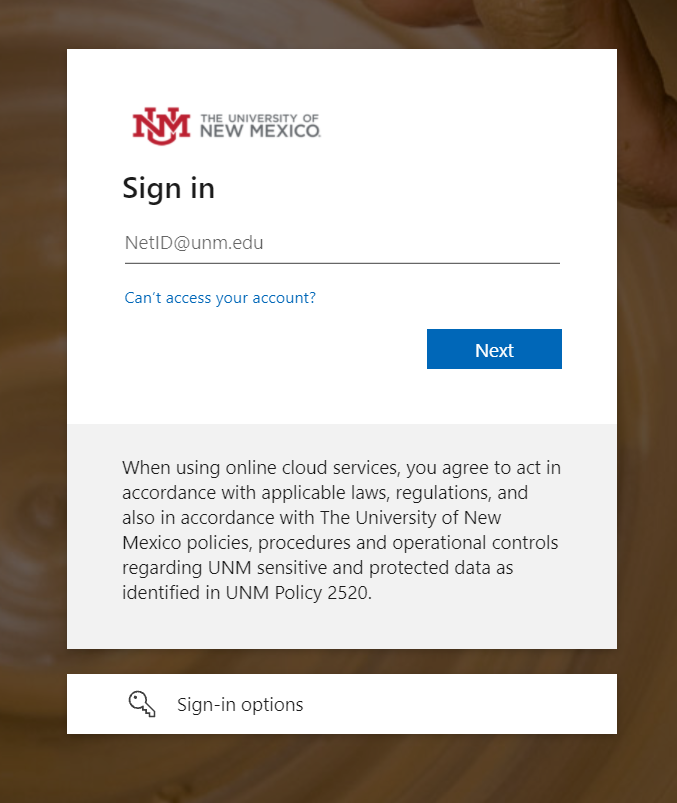
4. Log in and authenticate using MFA
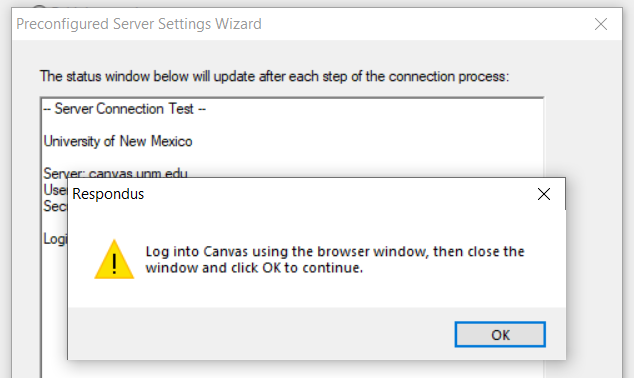
a) Click OK. This will open your default browser to the UNM MFA Authentication page. Sign in using your main campus NetID followed by @unm.edu [NetID@unm.edu]. Enter password. Verify via text or phone code.
b) When finished, the Canvas / Respondus LockDown Browser screen will open. Click Authorize.
Note: all the Respondus products on Canvas currently share a token; although it is labeled for LockDown Browser it also works for Respondus 4.0.
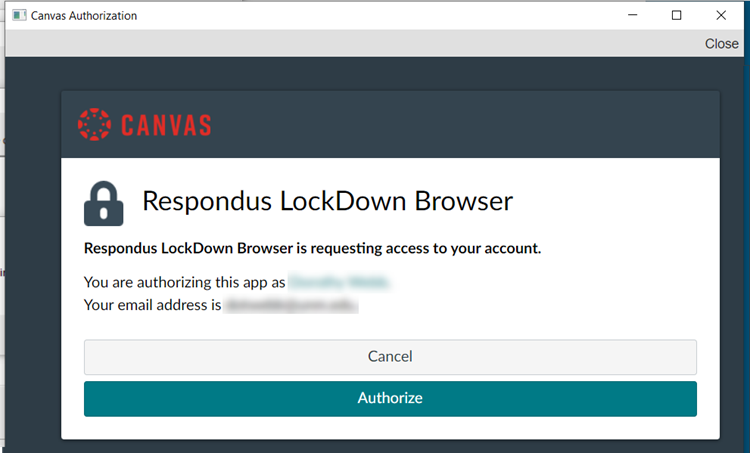
c) Click Close in the upper right corner.
5. Publish to a Canvas Course
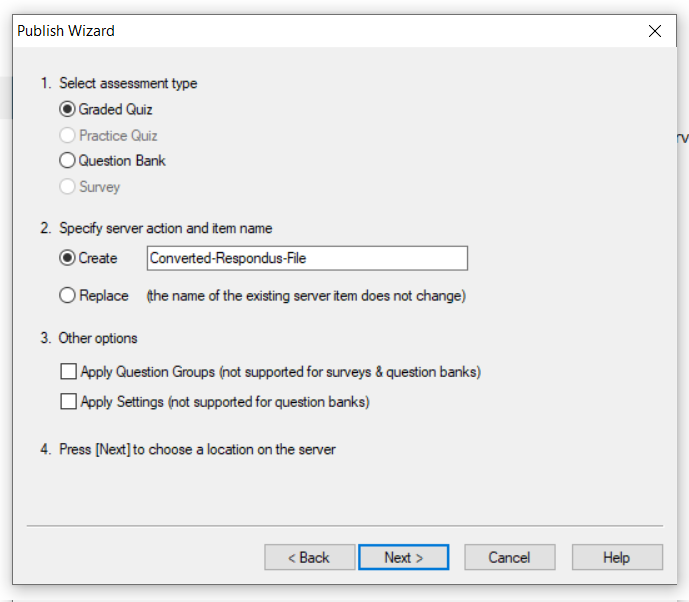
a) Select assessment type, server action and quiz name, and other options as desired. When ready, click Next.
b) Highlight to select the desired course as your publishing destination.
Note: opening a course folder will give you a list of all your existing quizzes, but you cannot select any of them as your destination. Copying to the Quiz tool area in a course is your only option.
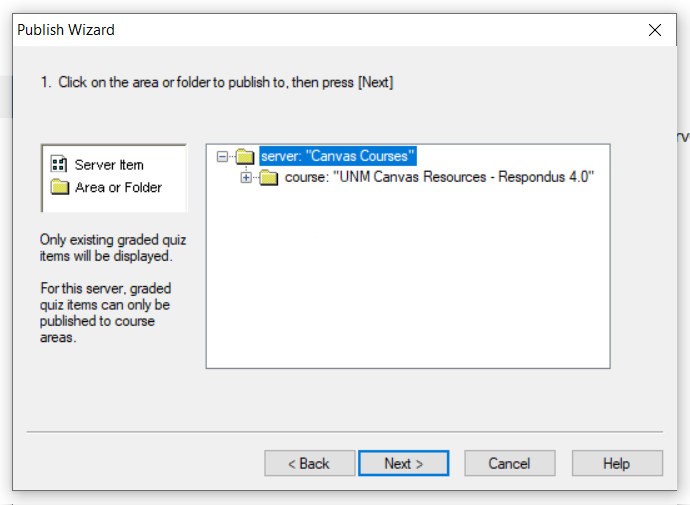
c) When ready, click Next.
d) Once the copy is complete, click Finish.
How To Retrieve Questions – Workaround
No Retrieval Functionality at this time.
Workaround:
You can export one Classic Quiz at a time through Canvas Quizzes. Select the desired quiz > Export > Select the “IMS-QTI” format and save to your local machine.
Open Respondus 4.0 and from the Personalities drop-down, select "IMS-QTI" > Import. Then click Import.
Note: When browsing to find the downloaded file, you may have to manually change the file type see the .zip. Once loaded, you can edit it as you normally would. If you wish to republish it, switch Personalities back to Canvas.
There are some caveats:
- Question groups linked to question banks—those would have to be rebuilt without using linking in order to export--and some quirks with images and formatting.
- To export question banks, you will need to create a quiz that contains them all, then export.
Respondus Question Retrieval - Workaround Instructions for Canvas
Canvas - HT Export Quiz Content
Documentation and Help Resources
Respondus 4.0 User Guide for Canvas (PDF) Importing questions from a Word doc - Instructions for formatting questions begin on page 41
How to Format Questions in Word instructions are also available inside Respondus. After selecting Import Questions, click Help from the upper right corner. See the first item in the Appendix.
Video tutorials:
Creating and Formatting Questions with Respondus 4.0
Importing Questions with Respondus 4
Publishing to Canvas
